Landships II
| Post Info | TOPIC: Artillery tractor | ||||||||||
|---|---|---|---|---|---|---|---|---|---|---|---|
|
Lieutenant

|
|
||||||||||
|
General

|
|
||||||||||
|
Hero

|
|
||||||||||
|
Hero
|
|||||||||||
|
Lieutenant
|
|
||||||||||
|
General
|
|
||||||||||
|
Lieutenant
|
|
||||||||||
|
General
|
|
||||||||||
|
General
|
|
||||||||||
|
General
|
|
||||||||||
|
Lieutenant
|
|
||||||||||
|
General
|
|
||||||||||
|
General
|
|
||||||||||
|
General
|
|
||||||||||
|
General
|
|
||||||||||
|
General
|
|
||||||||||
|
General
|
|
||||||||||
|
General
|
|
||||||||||
|
General
|
|
||||||||||
|
General
|
|
||||||||||
|
General
|
|
||||||||||
|
General
|
|
||||||||||
|
General
|
|
||||||||||
|
General
|
|
||||||||||
|
General
|
|
||||||||||
|
General
|
|
||||||||||
|
General
|
|
||||||||||
|
General
|
|
||||||||||
|
General
|
|
||||||||||
|
General
|
|
||||||||||
|
General
|
|
||||||||||
|
General
|
|
||||||||||
|
General
|
|
||||||||||
|
General
|
|
||||||||||
|
General
|
|
||||||||||
|
General
|
|
||||||||||
|
General
|
|
||||||||||
|
General
|
|
||||||||||
|
General
|
|
||||||||||
|
General
|
|
||||||||||
|
|||||||||||
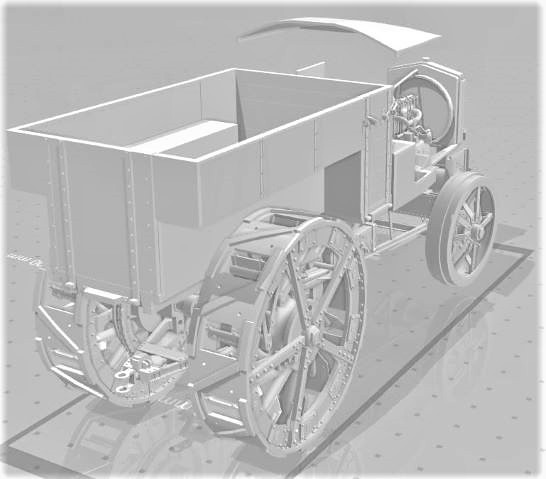
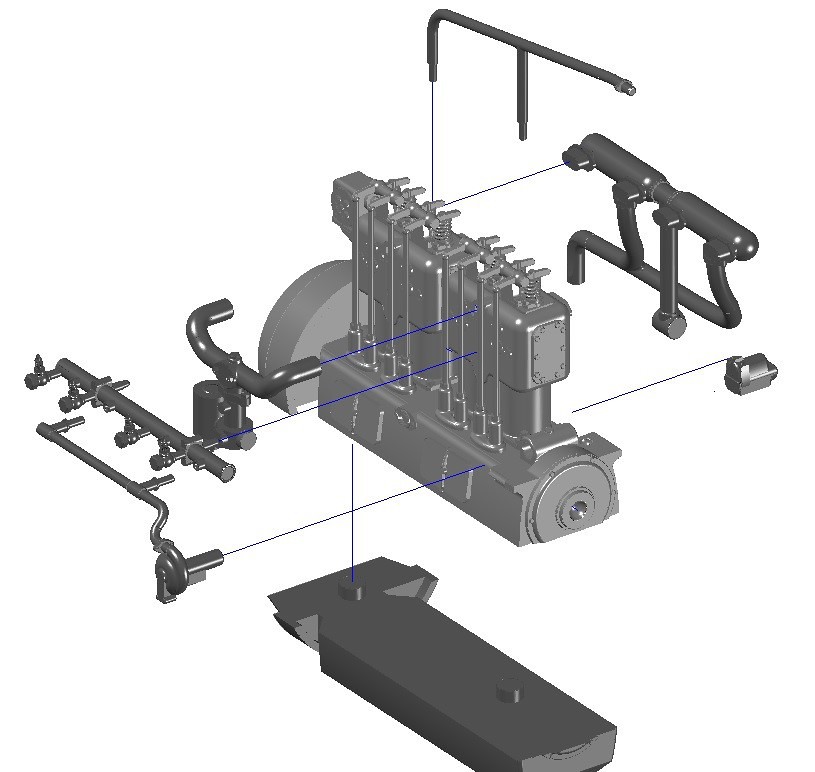
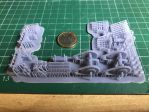
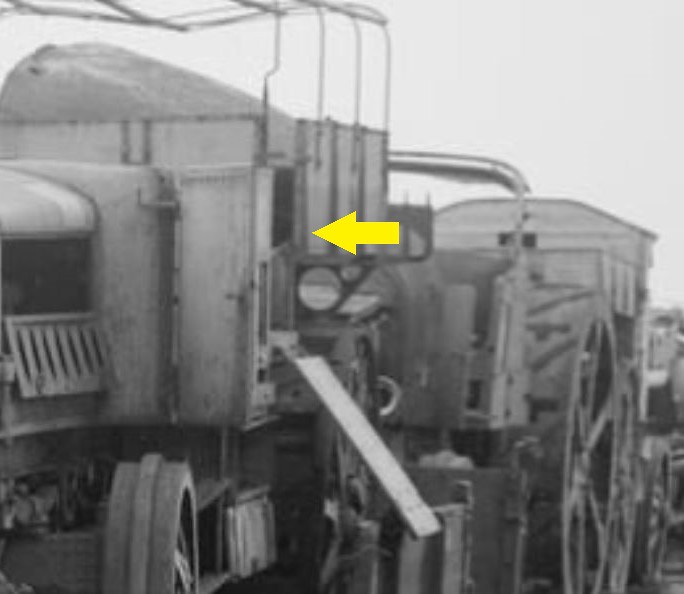
 . I think this is due to insufficient computer performance. But exactly for that, most details are visible in the pics.


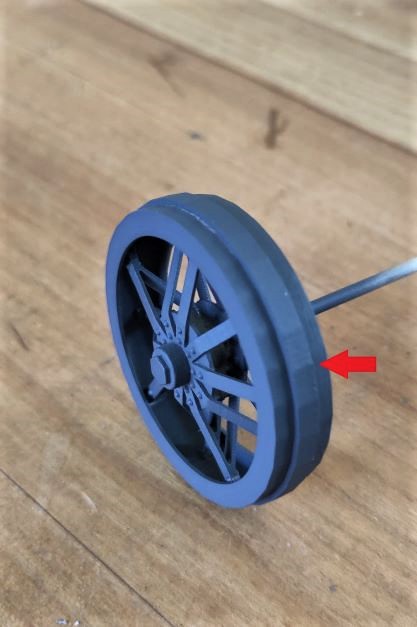

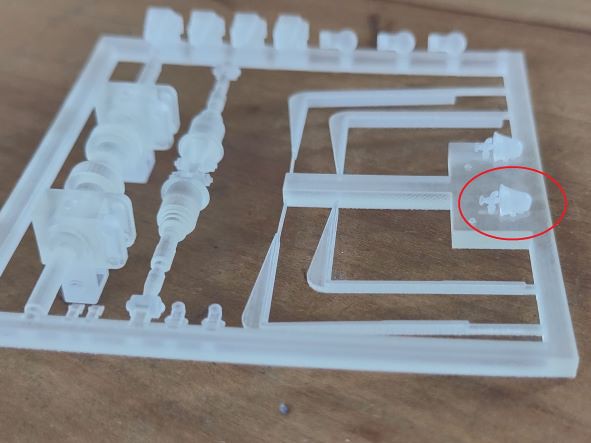
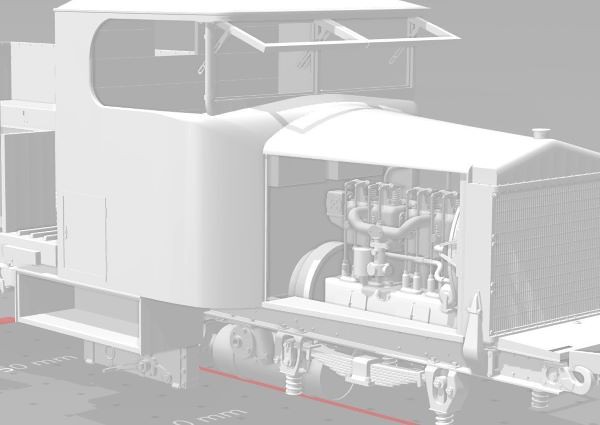
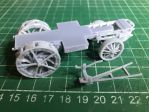
 ) and the quality is surprisingly good! Now the replacement frame is the only major part that is missing.
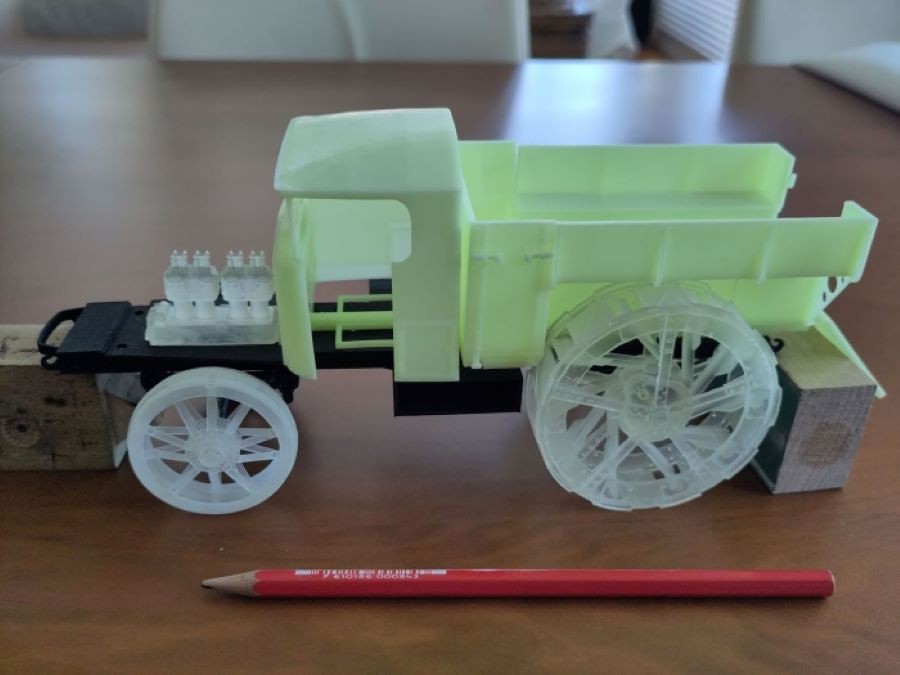


|
|
||


|
