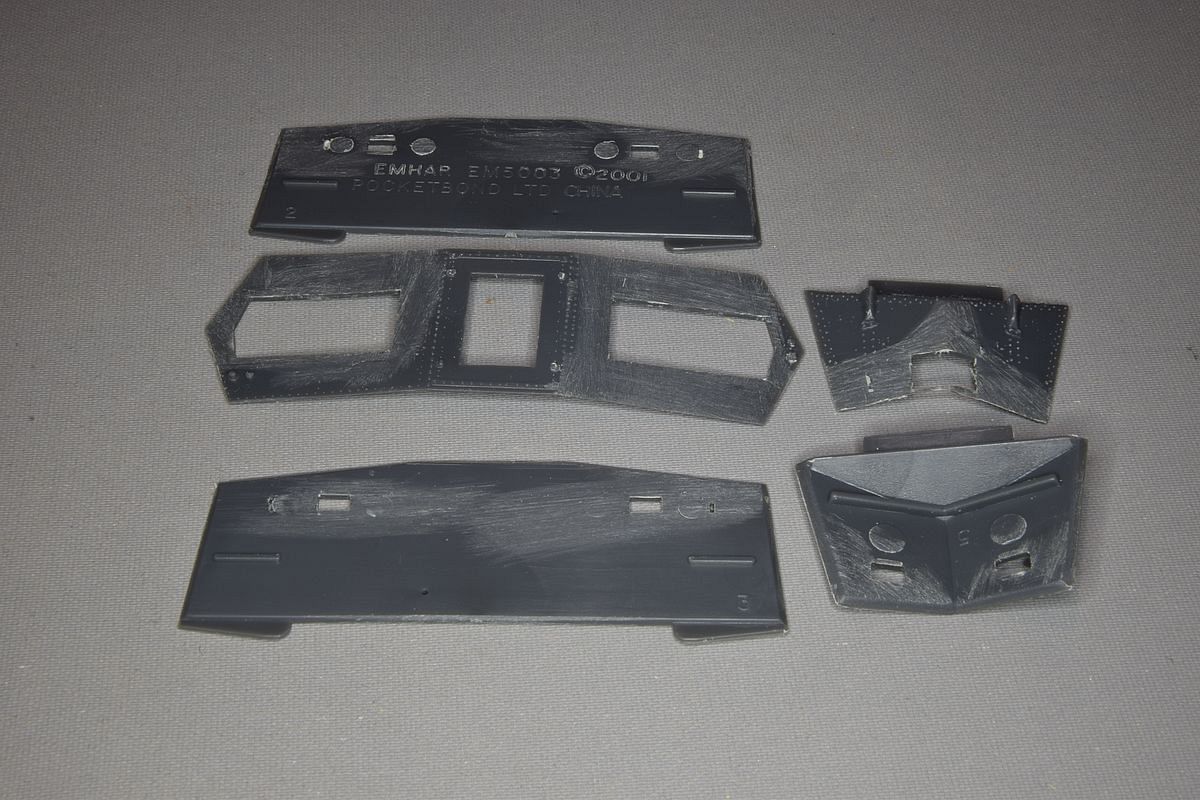
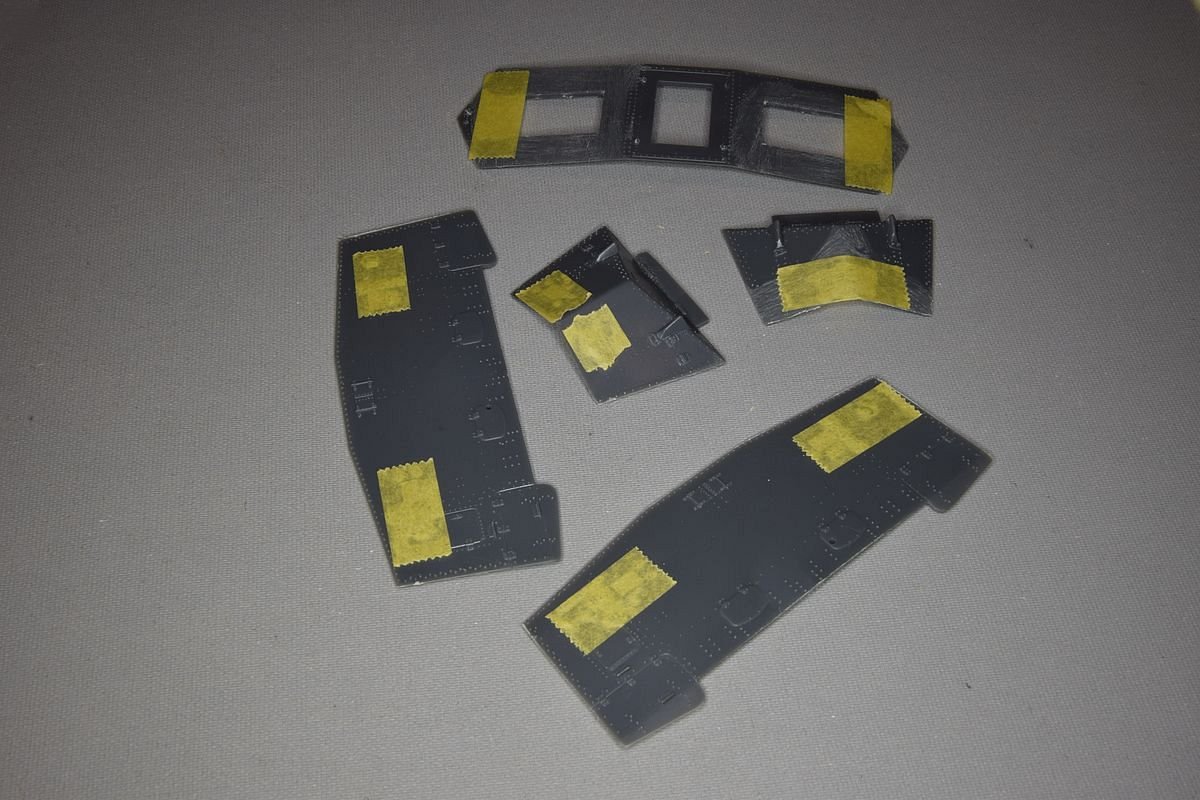
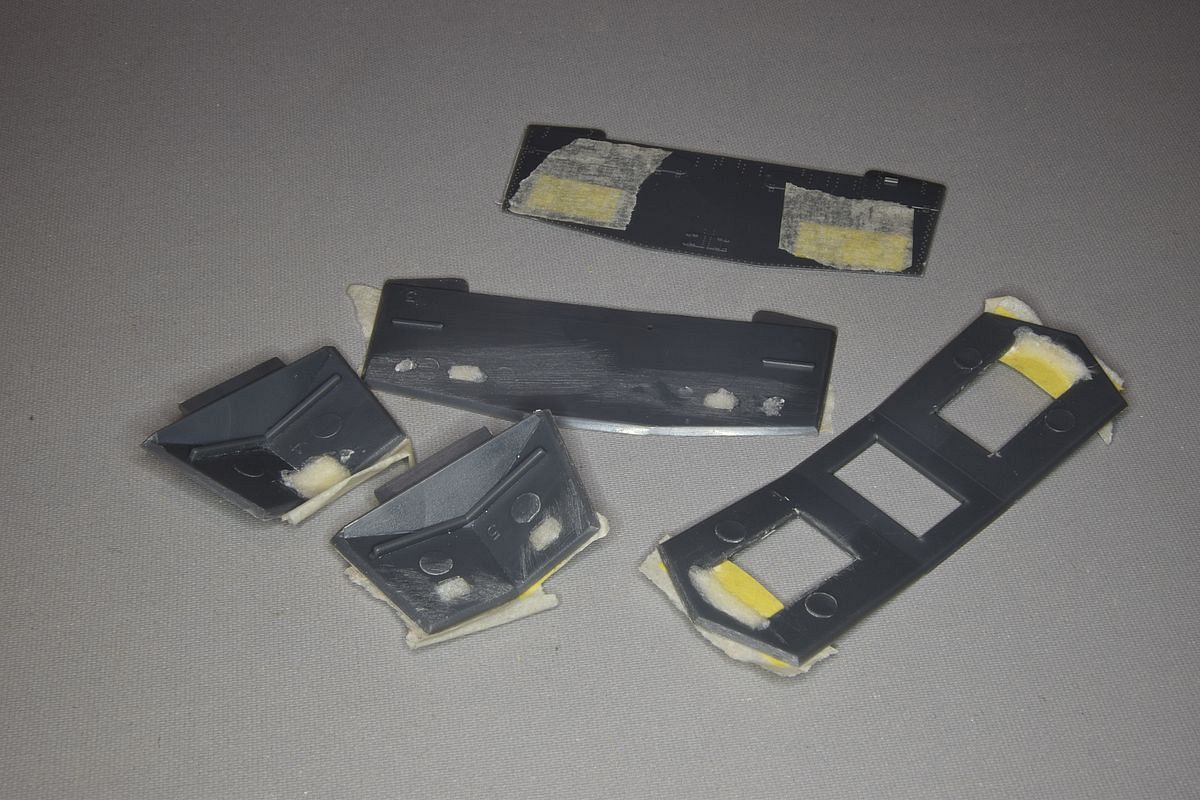
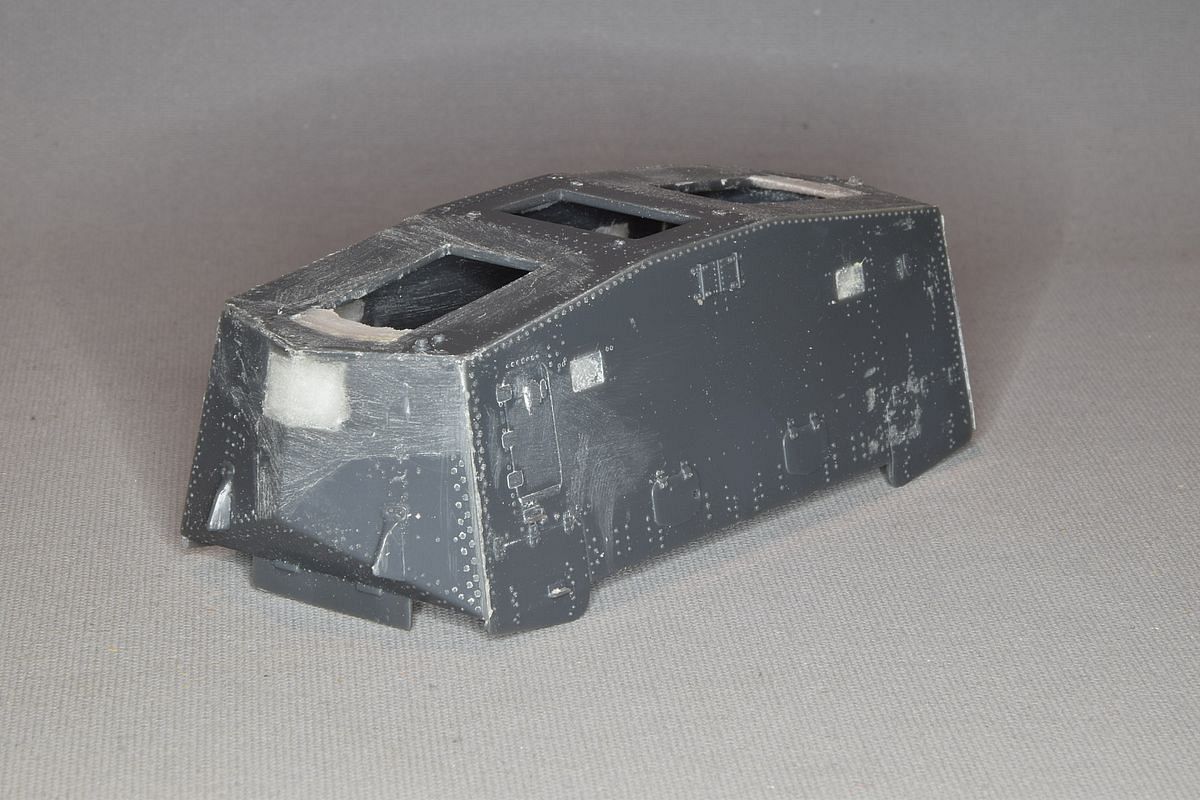
Landships II

Members Login
Username 
 
Password 
    Remember Me  
Post Info TOPIC: Perhaps an alternative way to build a "Hedi".


Captain

Status: Offline
Posts: 98
Date:
Perhaps an alternative way to build a "Hedi".
Permalink   


hedi2_01.JPG

After my Hedi scratch build (https://landships.activeboard.com/t67549479/hedi-in-172/) I had a complete A7V hull from Emhar left and decided on an experiment.

I started by removing all gun mounts on the in and outside and sanded it flat. I also removed the grills in the roof.


hedi2_02.JPG

I covered the holes with masking tape on the outside.


hedi2_03.JPG

I then filled the holes with super glue and baking soda


hedi2_04.JPG

I removed the tape and glued the hull together. I couldn't find my standard masking tape so I had to use the Tamiya tape instead.

It didn't work as good as the white tape, it reacted with the glue and left a residue I had to scrub off. But I got a hull with no gun ports.

I had to fill a bit of the roof as well as the hole will extend to long forward otherwise.


hedi2_05.JPG

I masked off where I would make some cuts.


hedi2_06.JPG

and let the saw loose.


hedi2_07.JPG

I filled the cuts and came to the same point as my "Hedi-build" where I can add the turret and the roof of it.


hedi_11.JPG

I'm not sure this is easier than a scratch build as there will be lots of filling and sanding needed, but so did the scratch build,

It took me over one and a half month to get this far on the scratch build while the work shown on the converted hull only one evening

At least the bottom part of the body has the details left.


501_06.JPG

With the Emhar kit build's that I've done I found it hard to get the body parts to fit together as you must fit them to the chassis while assembling them.

I would like to build the body first and then add the chassis but that is impossible, so I decided to make an experiment. 

I assembled the body without the chassis and that made it easier to align the parts. I then cut the chassis in two with an ~45-degree angle so I can slide the parts into the body.

I now found why the body was hard to get right in the first place. The front wall of the chassis interferes so I removed some of it to get a better fit.


__________________

Björn

https://baecklund.eu/scalemodels/home.html


Ned


Brigadier

Status: Offline
Posts: 293
Date:
Permalink   

Looks really good, Hedi is a favorite of mine.  I'll be following this building!! 


__________________


Captain

Status: Offline
Posts: 98
Date:
Perhaps an alternative way to build a
Permalink   


I scratchbuilt (the white one) and later started a test with the leftover Emhar body. I didn't do more to it than what is shown on the picture as it was a test. I gave that away to a friend. The scratch built one was finished though.

__________________

Björn

https://baecklund.eu/scalemodels/home.html


Page 1 of 1  sorted by
 
Quick Reply

Please log in to post quick replies.

Tweet this page Post to Digg Post to Del.icio.us


Create your own FREE Forum
Report Abuse
Powered by ActiveBoard