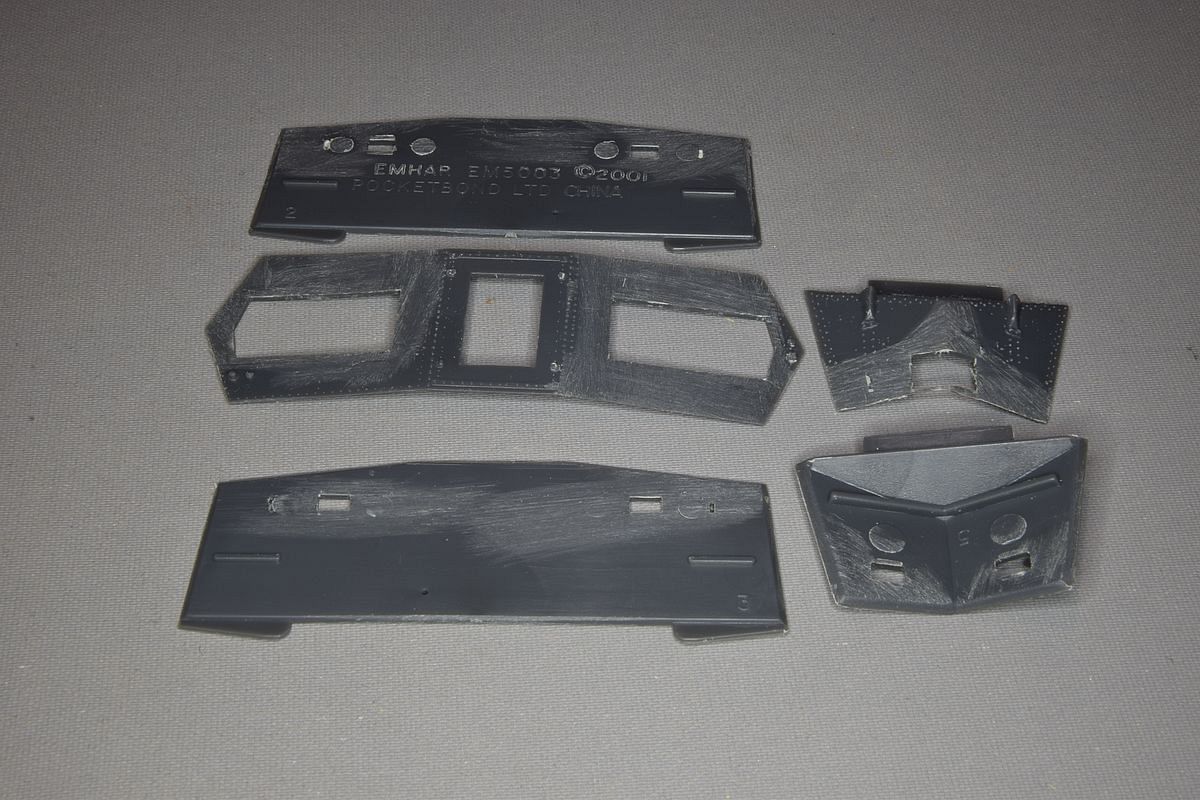
After my Hedi scratch build I had a complete A7V hull from Emhar left and decided on an experiment.
I started by removing all gun mounts on the in and outside and sanded it flat. I also removed the grills in the roof.
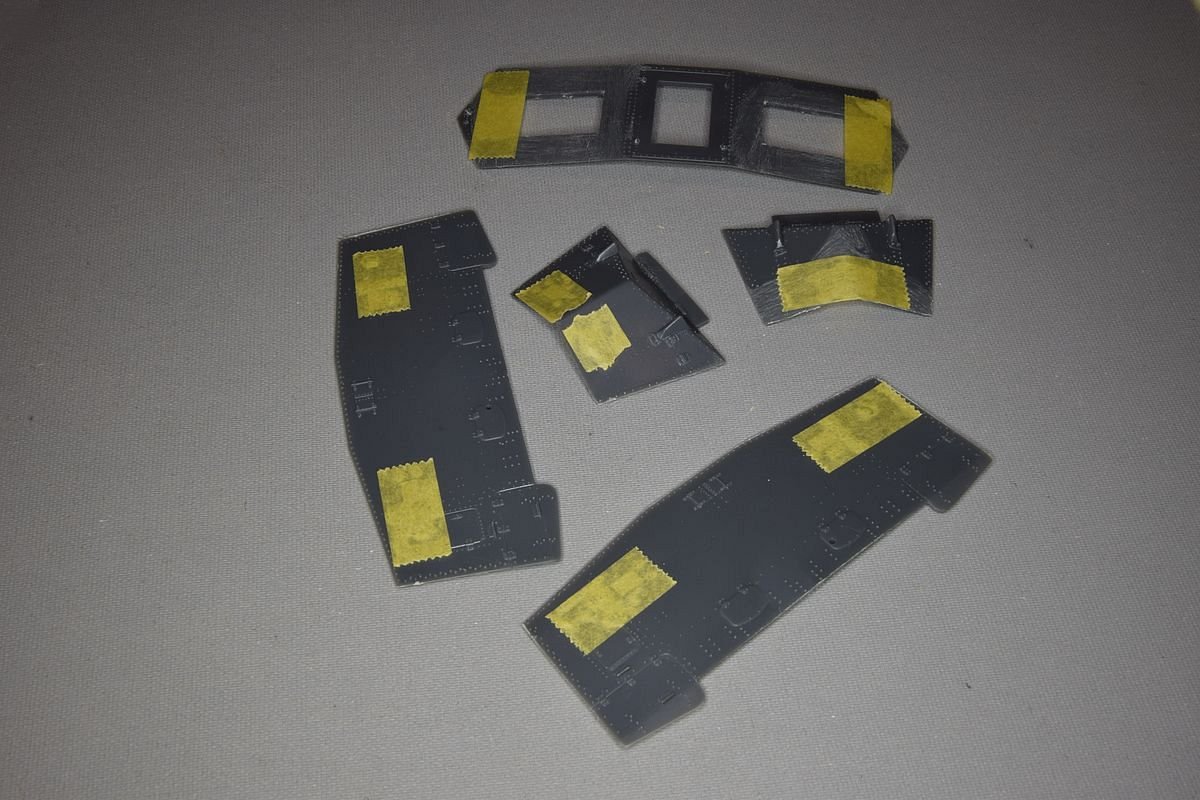
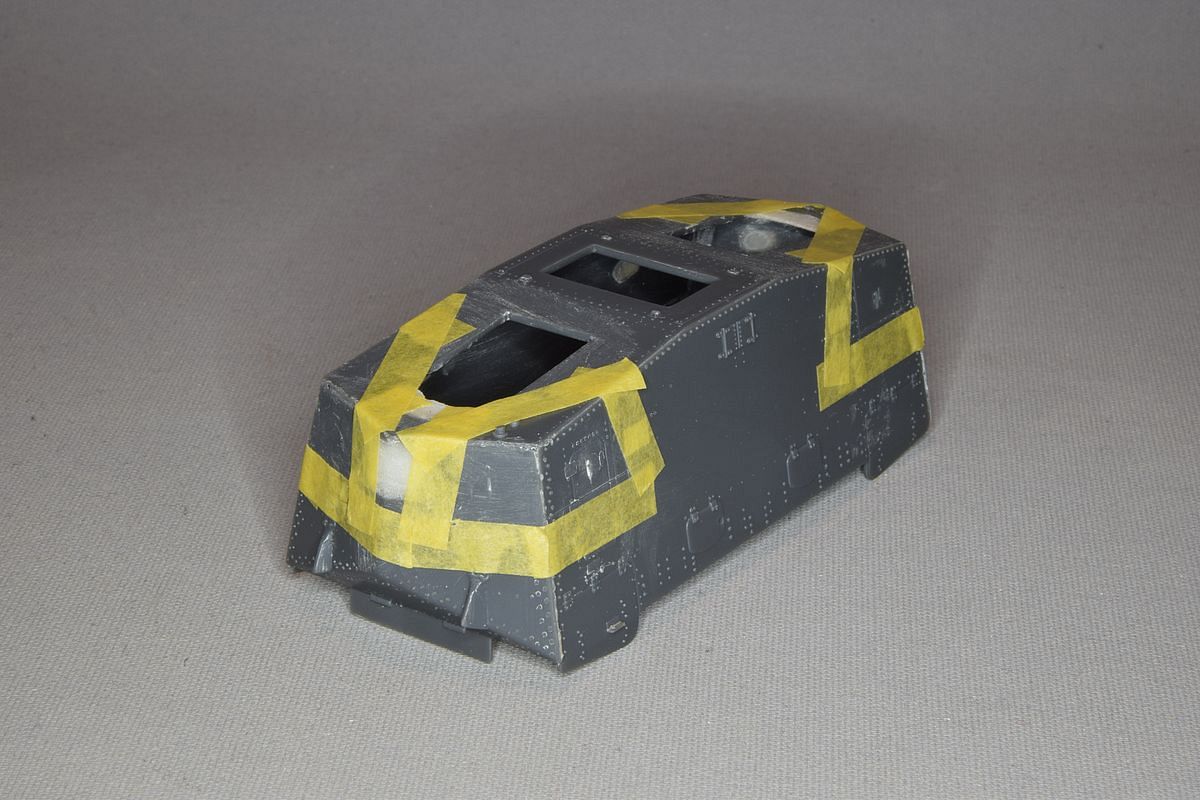
I covered the holes with masking tape on the outside
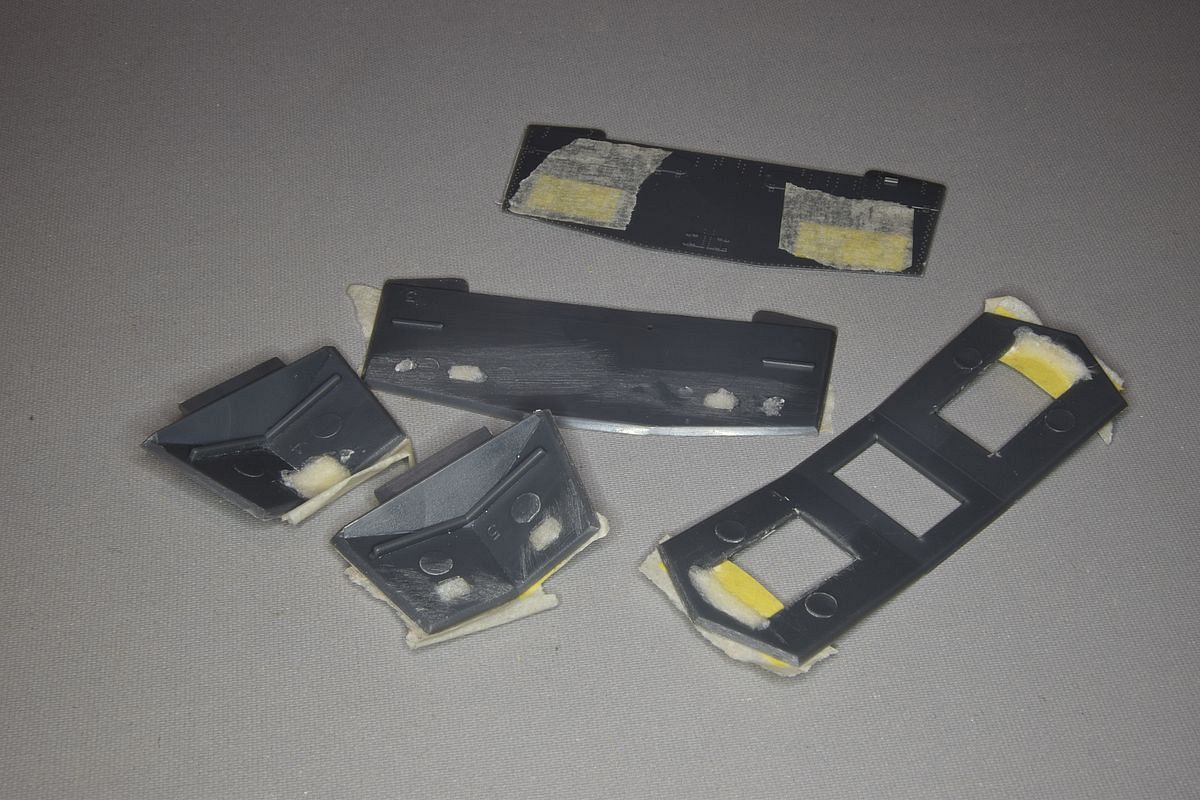
I then filled the holes with super glue and baking soda
I removed the tape and glued the hull together. I couldn't find my standard masking tape so I had to use the Tamiya tape instead.
It didn't work as good as the normal masking tape, it reacted with the glue and left a residue I had to scrub off. But I got a hull with no gun ports.
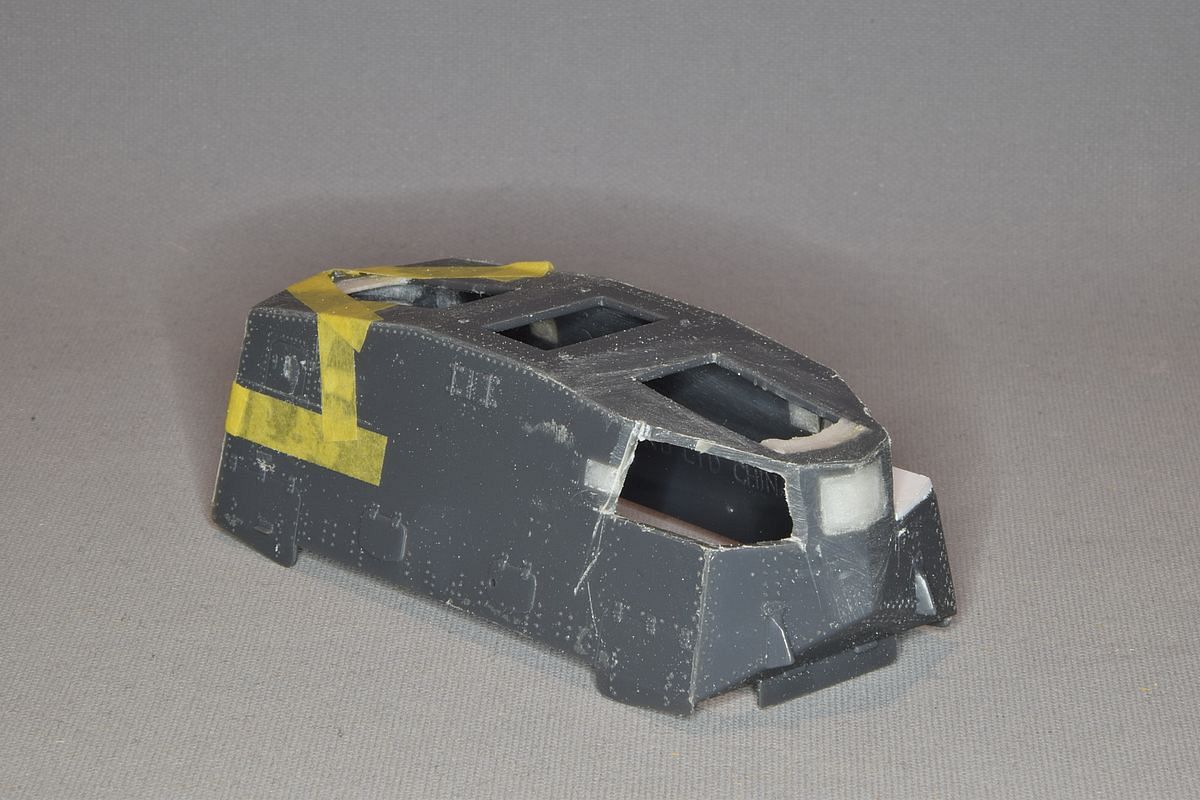
I had to fill a bit of the roof as well as the hole will extend to long forward otherwise.
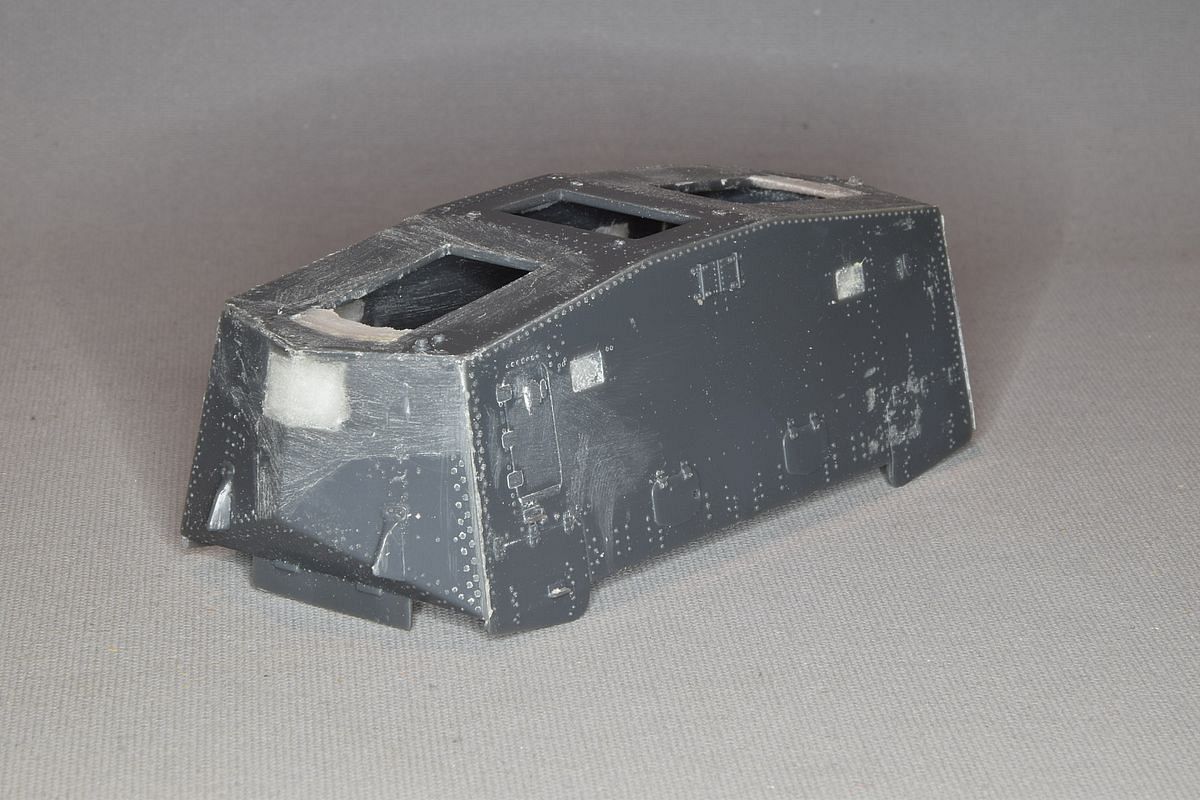
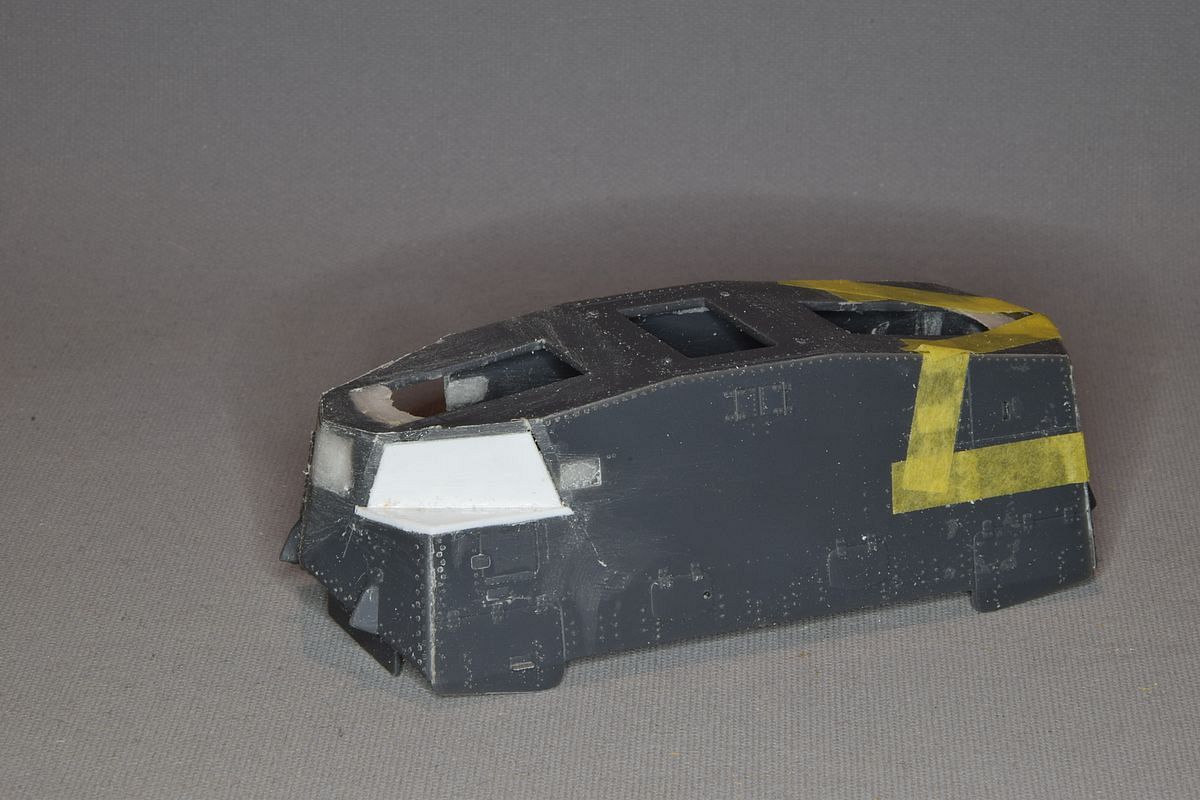
I masked off where I would make some cuts,
and sawed off the corners.
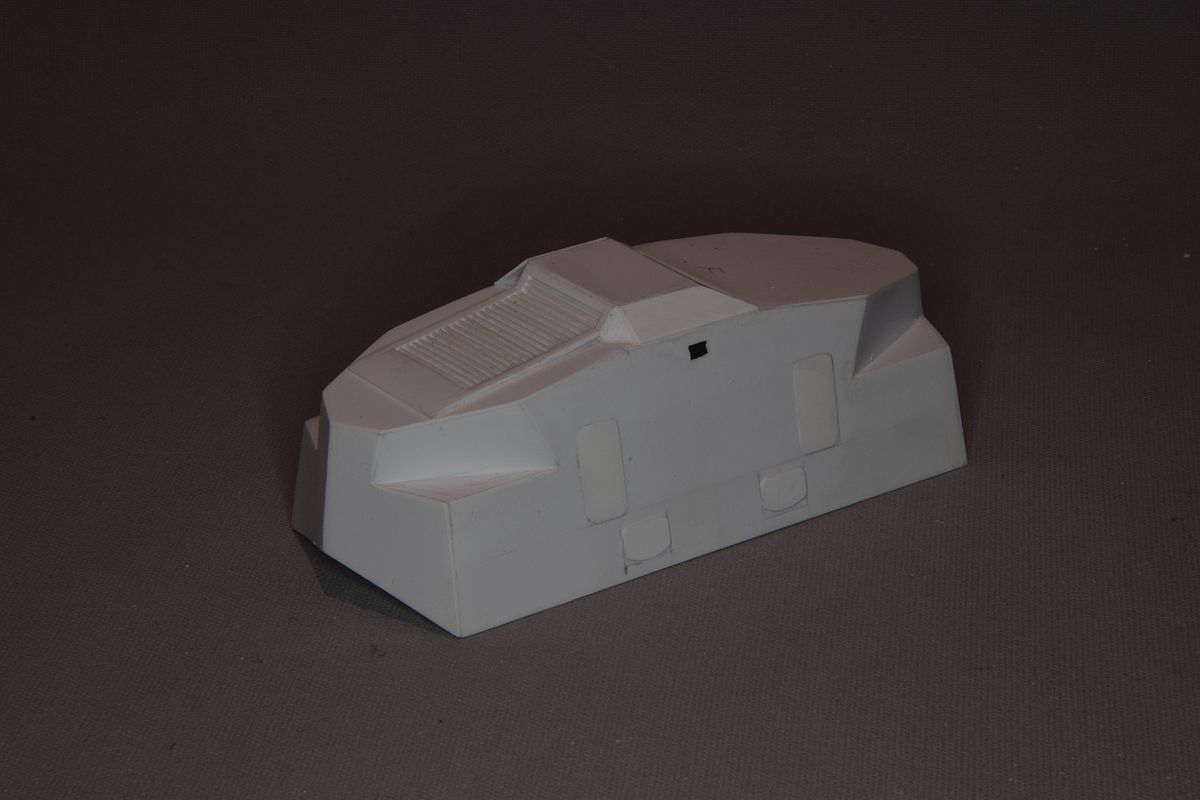
I filled the cuts and came to the same point as my "Hedi-build" where I could add the turret and the roof of it.
I'm not sure this is easier than a scratch build as there will be lots of filling and sanding needed, but so did the scratch build, but using the Emhar hull one get the basic shape without the hassle of trying to get all the angles right. It took me over one and a half month to get this far on the scratch build while the work shown on the converted hull only one evening. At least the bottom part of the body has the details left.